Photoshop is very handy tool when you need to stitch several images together. It is also possible to stitch maps from smaller images into one bigger. This is useful when you’re planning trip somewhere and you do not have a paper map. You can create screenshots from OpenStreetMap and stitch them together in Photoshop.
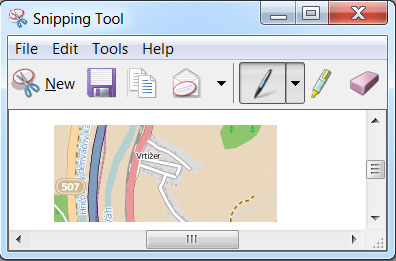
Step 1. Create screenshots of maps and store these files it into directory. Images should overlap. Use PNG format to avoid blur in images.
Windows users can use Snipping tool. Mac users can use Command + F4.
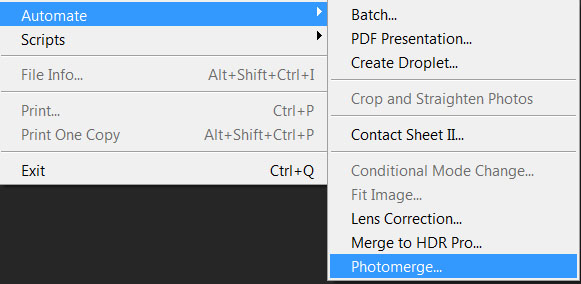
Step 2. Open Photoshop. Go to menu File – Automate – Photomarge
Step 3. Select files Layout – Reposition. Uncheck Blend Images Together. Browse files or folder. Click Ok and wait.

If overlap region of screenshots was sufficient then result image will be ok.